How Do We Get Consistent Hand Positioning Cordless Lamp Cures?
Practical steps for mobile techs to position hands in the Pink Big Rhinestone 72W cordless lamp so each nail cures evenly.
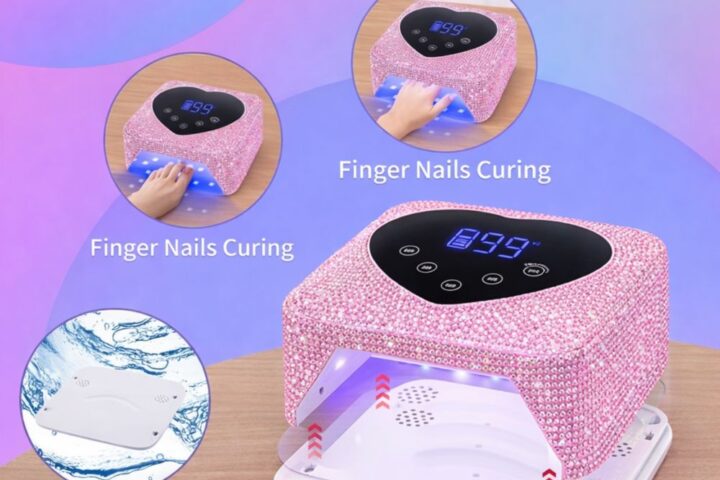
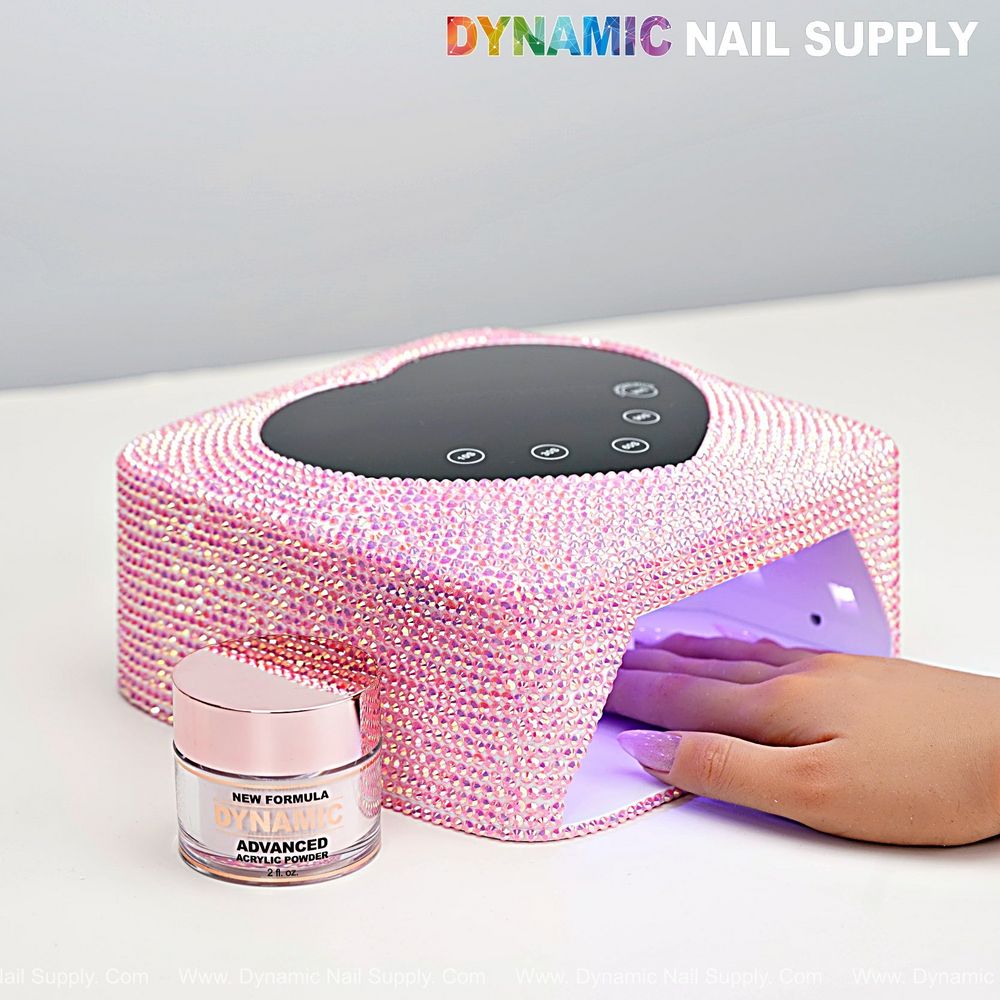
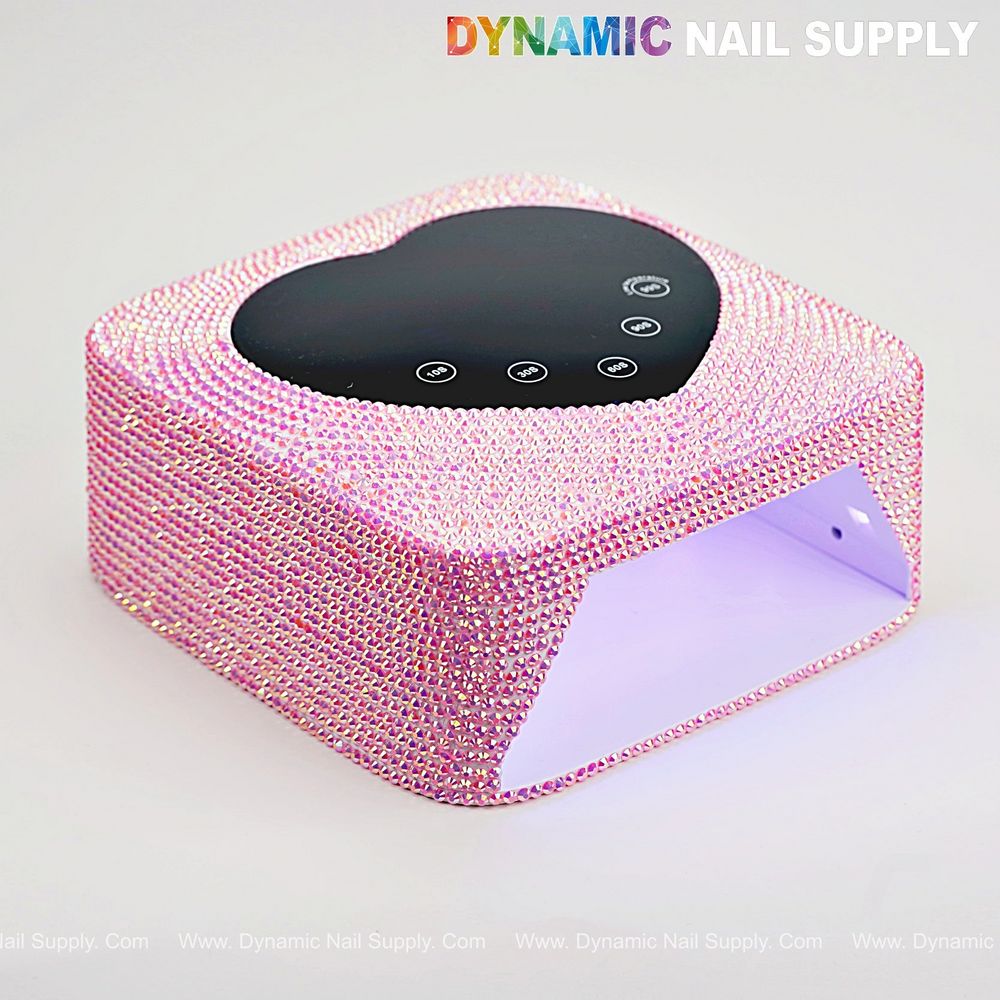
The Pink Big Rhinestone 72W cordless lamp with heart-shaped control panel and pale lavender interior glow is a portable curing tool that blends performance with glam for mobile nail techs and DIY clients.
How do we read the lamp cavity and set a baseline for placement?
Before every service we check the rounded arch and the soft purple LED glow inside the curing opening so we can judge how deep a hand sits and how fingers spread under the light; that pale lavender interior glow is an honest visual guide for centering the nail beds beneath the LED array rather than relying on feel alone. We start with the device on a stable surface at table height and confirm the heart-shaped matte black control panel is facing the client so the timer icons are readable for either of us. With a cordless lamp it’s tempting to hold or tilt the device, but for consistent cures we rest the lamp flat so the 30 evenly distributed LED beads can do their job without accidental shadows.
How should we position different hand shapes and nail lengths for even curing?
Short natural nails: we ask the client to flatten their fingers slightly and press fingertips to the back curve of the cavity so the free edge faces the light directly; a shallow placement avoids tipping the nail under a darker cuticle shadow. Medium lengths: we lightly fan fingers so each nail sits under the arch; the heart-shaped opening gives a central visual cue to align the middle finger nail first, then adjust the rest while watching the interior glow. Long tips and extensions: we stagger the hand so the tips are nearest the center of the cavity where the light density is highest, and when a single pass won’t reach very long tips we cure in two short stages—first the free edge closest to the bulb for 15–30s, then reposition the hand slightly deeper for the remaining time to finish the cuticle area. For very long tips we also use the lamp’s low heat 99s setting for gradual cure when thick builder layers risk heat spikes.
How do left- and right-handed techs adapt to the heart-shaped control and sensor?
We approach symmetry by letting the client’s hand dictate which side of the heart-shaped top becomes our visual anchor: when we work on a right hand we place the heart’s left curve toward the technician so the timer icons are readable, and vice versa for a left hand. The infrared sensor makes hands-free curing simple, but we still watch that the palm isn’t obstructing light to the nails—palms should hover slightly so fingers are exposed to the pale lavender glow. If you’re left-handed and find yourself angling the lamp, swap your standing position instead of twisting the device; keeping the lamp level preserves even output from the 72W dual light source and limits shadows from off-axis placement.
We recommend keeping Pink Big Rhinestone Lamp in a compact mobile kit so the heart-shaped display and lavender glow guide placement when you move between clients.
Where do we place each finger to avoid common problems like lifting and uneven finish?
To prevent lifting and patchy cures we place nails so the full nail plate sits parallel to the LED plane: align the middle finger first using the lavender glow, then check the index and ring are not tucked under or flared out. For nails with thick builder gel or dense glitter top coats we reduce layer thickness and use the 60s or 90s timers as needed, positioning the hand slightly deeper on the second pass to ensure the cuticle zone cures fully. When a client reports a tacky or soft center after curing, we reposition the hand with a microscopic forward shift—just a few millimeters—so the interior beams strike the midline of the nail rather than the tip only. Consistency in this small adjustment is what prevents repeat touch-ups.
For mobility and quick checks we sometimes place the lamp against a small folded towel to raise the back slightly, which changes the internal angle subtly and helps with very short nails; remember that any tilt can alter the effective distance to the LEDs, so test a pin-cure on a single nail when trying a new angle.
How do we handle long sessions and hygiene while keeping placement reliable?
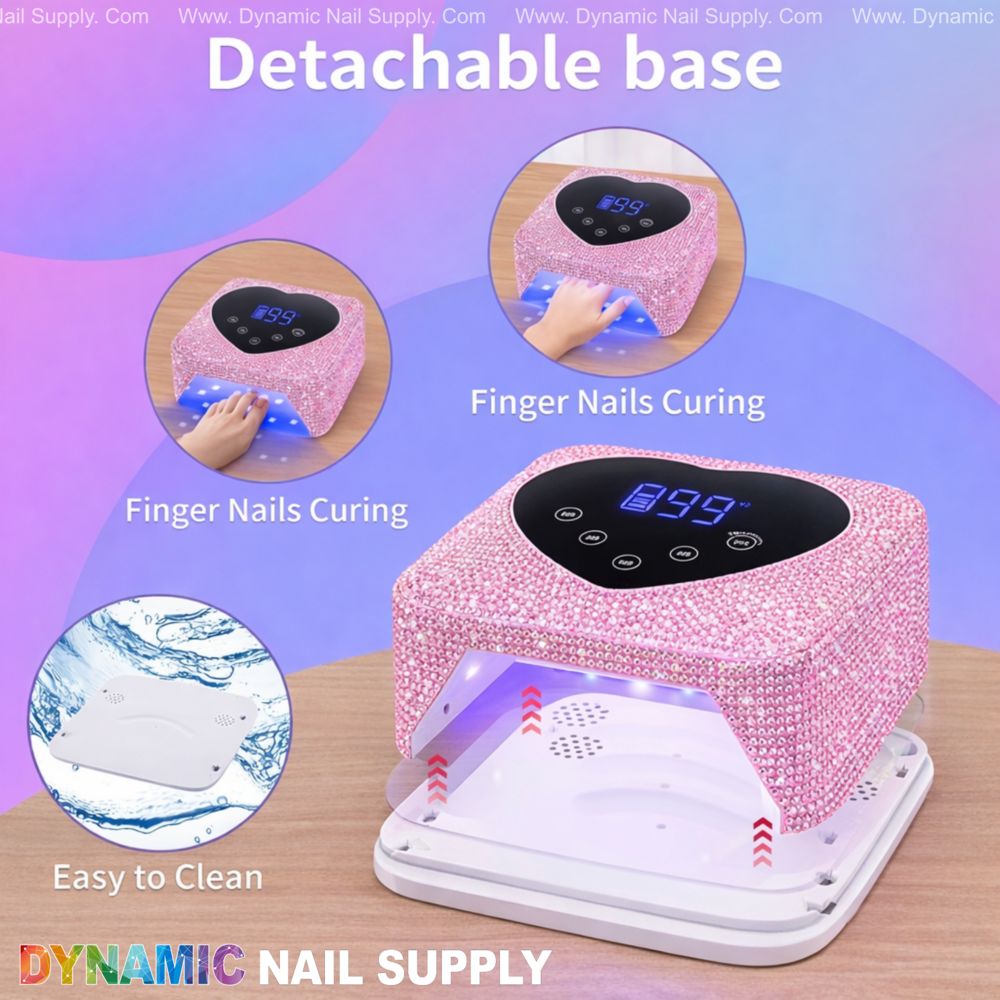
Throughout a multi-set booking we watch the battery indicator and reserve the higher-power timers for finish layers so the lamp’s built-in battery life stretches across appointments; a full charge usually takes about three hours and can power several services. The magnetic detachable base makes it quick to wipe and sanitize the curing cavity between clients without disturbing rhinestones on the exterior, which we appreciate when we’re moving between homes or event sites. If the sensor becomes less responsive, we clean the sensor area and the inner cavity with a soft cloth and alcohol wipe, then re-check placement using the interior glow as our alignment tool.
What safety notes should we keep in mind when positioning hands?
We always remind clients that the lamp emits curing light and to avoid staring directly into the opening; minimal exposure is expected during normal use. Keep the device dry, avoid submerging the base, and let the lamp cool between prolonged curing cycles to maintain the low-heat benefits that protect client comfort. For extended workdays we plan brief breaks to let the battery and LEDs rest rather than running continuous back-to-back cycles.
Quick specs
- 72W high power output
- 30 evenly distributed LED beads
- 9600mAh rechargeable battery, ~3 hours charge
- Up to 7 hours working time (varies by use)
- Five timer settings plus 99s low heat mode
- Magnetic detachable base and heart-shaped control panel
Quick reference: positioning checklist
- Rest lamp flat at table height; use the lavender glow to center the middle finger first.
- Short nails: fingertips to back curve; long tips: stagger and use two-stage cures.
- Left- or right-handed? Rotate your position, not the lamp angle, for consistent beams.
- Use 99s low heat for thick layers or heat-sensitive clients; avoid continuous cycles without breaks.
- Wipe the interior and sensor between clients; magnetic base makes this simple.
We keep these placement small habits consistent and the lamp’s pale lavender glow will tell you when every nail is where it needs to be.