How Do We Fix Common Problems With 3D Spring Nail Charms?
Troubleshoot lifting, uneven placement, mess and breakage when working with pastel resin 3D charms for spring nail looks.
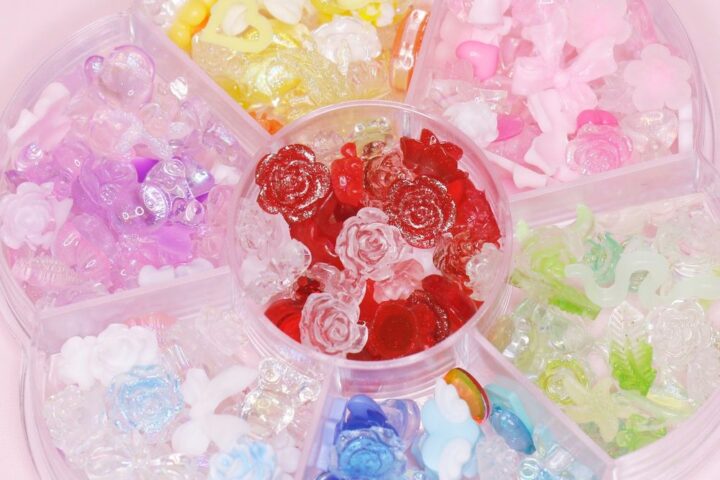
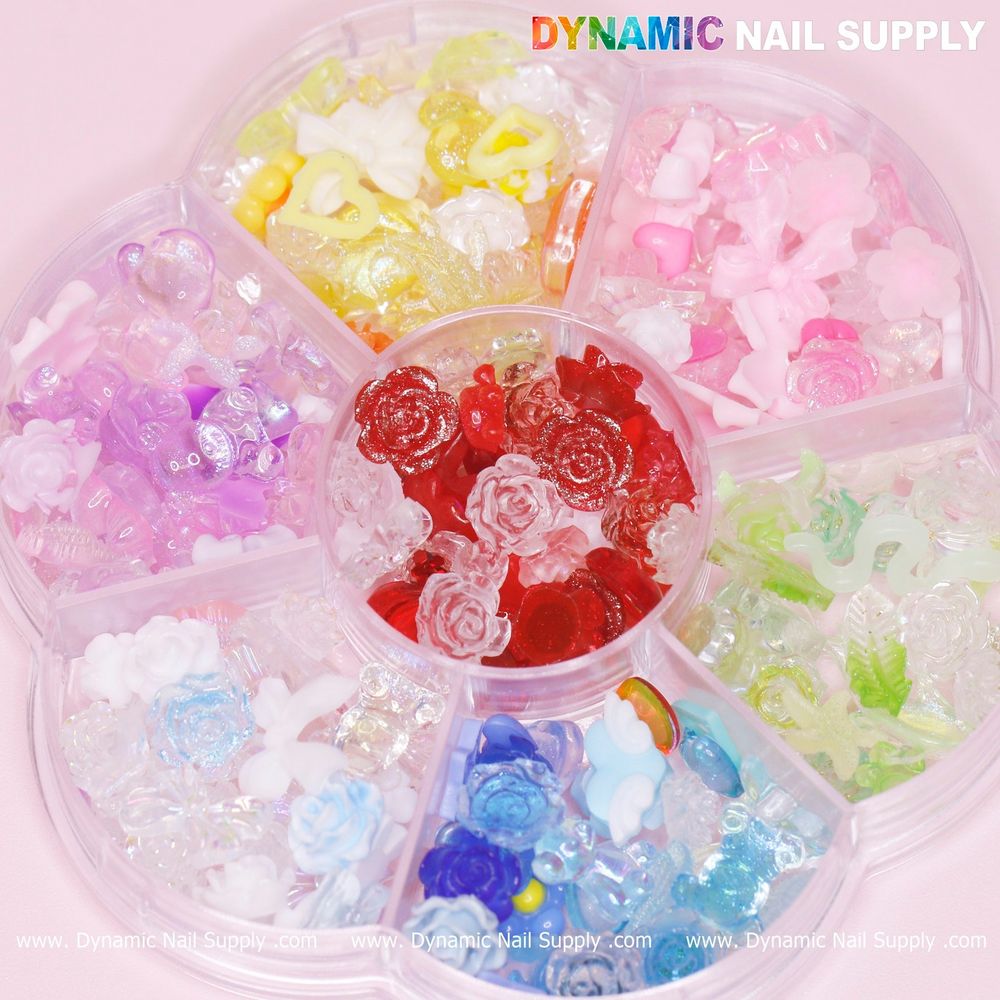
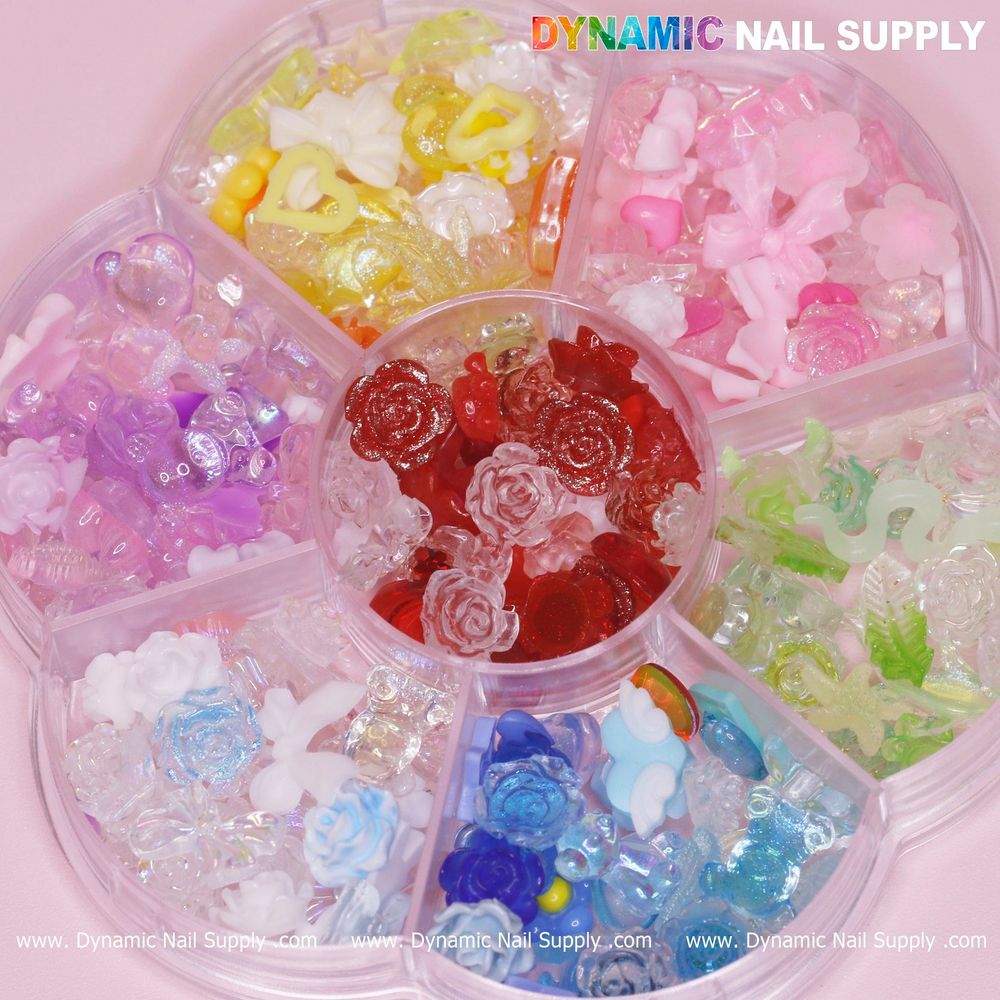
Colorful 3D Mix-shapes charms are glossy resin sequins in pastel and opalescent shades that include tiny roses, bows, hearts and novelty shapes for spring nails.
Why are my charms lifting from gel or topcoat?
Lifting happens when the contact between the charm and the adhesive or gel isn’t fully secure, or when trapped moisture prevents a strong bond. We always start by cleaning the nail surface thoroughly, dehydrating with a lint-free wipe if we work over natural nail, and avoiding oily cuticle areas. For clear gel or builder gels we slightly roughen the back of an especially glossy charm with a fine file or gentle buffing; not every piece needs it, but the translucent glossy backs can be slick under gel.
When placing a charm, we press it into a fresh layer of tacky gel or a small bead of builder gel and then cure while holding it steady for a few seconds to ensure accurate contact. For very flat charms we like a thin perimeter bead of gel around the base after initial cure to seal the edges—this reduces catch and prevents nails from snagging the charm and prying it up.
How can we prevent uneven finish or cloudy spots around embedded pieces?
Uneven finish typically comes from air bubbles, uneven gel flow, or incompatible layering. We recommend embedding these little resin shapes into a slightly viscous clear builder gel so the material flows around the piece and levels without trapping air. Place the charm face-down lightly into the gel, then use a fine brush dipped in clear gel to coax any tiny bubbles away from under edges before curing. If the charm has an opalescent sheen on one side, orient it consistently so the finished set reads uniformly.
When sealing very translucent pieces, avoid overly thick topcoat layers that can create a domed, distorted look; instead build in thin, even layers and cure between layers. If you must add a thicker encapsulation, do it in controlled, short layers rather than one heavy pour.
What do we do about mess, sticky residue, or excess glue?
Sticky residue from adhesives or uncured gel is frustrating but manageable. We keep a small pot of isopropyl wipes and a pointed orange stick at the station: remove excess uncured gel before final cure with the wipe, and pick away stringy glue with the orange stick while it’s still tacky, then cure. For cured excess gel, file carefully with a low-grit file and finish with progressively finer buffers to restore a smooth profile.
If you use a glue instead of gel to set the charm, apply sparingly—tiny dots rather than a puddle—and press the charm down, wiping any squeeze-out immediately. For rapid placement where precise positioning matters, a small dab of gel to hold the piece before final glue or encapsulation often gives us more control.
For quick accent work on a client we often grab the 3D mix-shapes charms to add a pop of iridescent detail without heavy sculpting.
How do we avoid breakage and snapped pieces during application?
These resin miniatures are decorative and small, so they can chip at thin points like bow loops or rose petals if stressed. We treat them like tiny sculptures: when picking up, use a wax pick or brush rather than metal tweezers which can clamp and damage delicate petals. Place them gently on a cushion of uncured gel rather than dragging them across the nail, and avoid forcing them into tight curves on very short nails.
If a piece does crack during handling, keep a tiny drop of clear resin or gel on hand to mend breaks by filling the fracture and curing; we prefer this only as a last resort because repaired visible cracks can show under thin finishes.
How should we choose placement and layering for a balanced look?
Because the set mixes translucent iridescent shapes with a few opaque matte pieces and a vivid compartment of gummy red roses, we balance focal pieces—like the red roses—on single accent nails and scatter smaller bows or hearts across other nails to avoid overcrowding. For mixed-media clear gel nails we embed small pieces shallowly so they read as playful accents, while larger roses deserve a slightly higher bead of gel so they sit proud but secure.
For spring florals and candy-themed looks we recommend limiting the number of large 3D pieces per hand to two or three so the set stays wearable and serviceable for mobile clients.
Are there safety or handling notes we should follow?
These are small decorative resin pieces, so we always advise keeping them away from children and pets; they are a potential choking hazard. Work over a tray to catch stray bits, and store unused charms in the divided case to avoid loss or contamination. Avoid inhaling dust while filing or buffing pieces—use a dust mask if you file frequently.
Quick specs
- Set contents: mixed resin 3D shapes (roses, bows, hearts, snake, etc.)
- Colors: pastel shades plus clear iridescent and bright gummy red
- Finish: glossy translucent pieces with opalescent sheen and some matte solids
- Price: $5.99 (prices may change)
We hope these common troubleshooting steps help you place, seal and maintain playful springtime charms with fewer surprises; keeping a steady hand, thin controlled layers of gel, and a simple repair kit will save time on mobile appointments.
Quick reference:
- Prep and dehydrate nail, clean cuticle area
- Roughen glossy backs sparingly for better adhesion
- Embed in thin layers of viscous gel; cure between layers
- Use wax pick, not metal tweezers; store in case
- Small parts safety: keep away from children and pets