How Do We Attach Silver Zodiac Charms for Gel Overlays?
Step-by-step troubleshooting for mobile techs to attach silver rhinestone zodiac charms securely to gel and builder gel overlays.
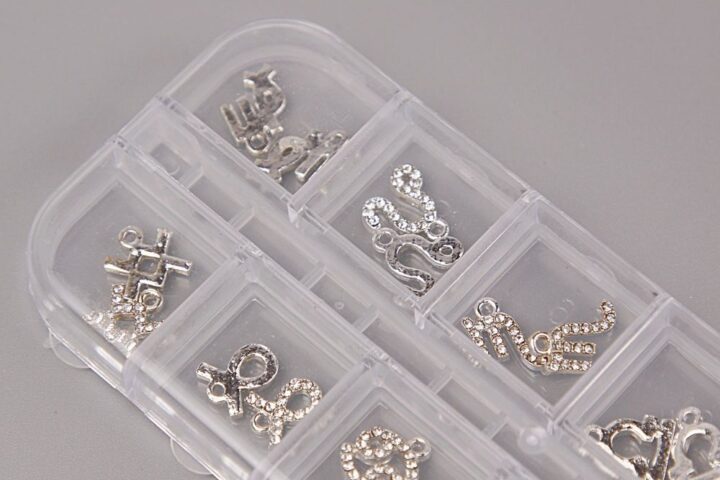
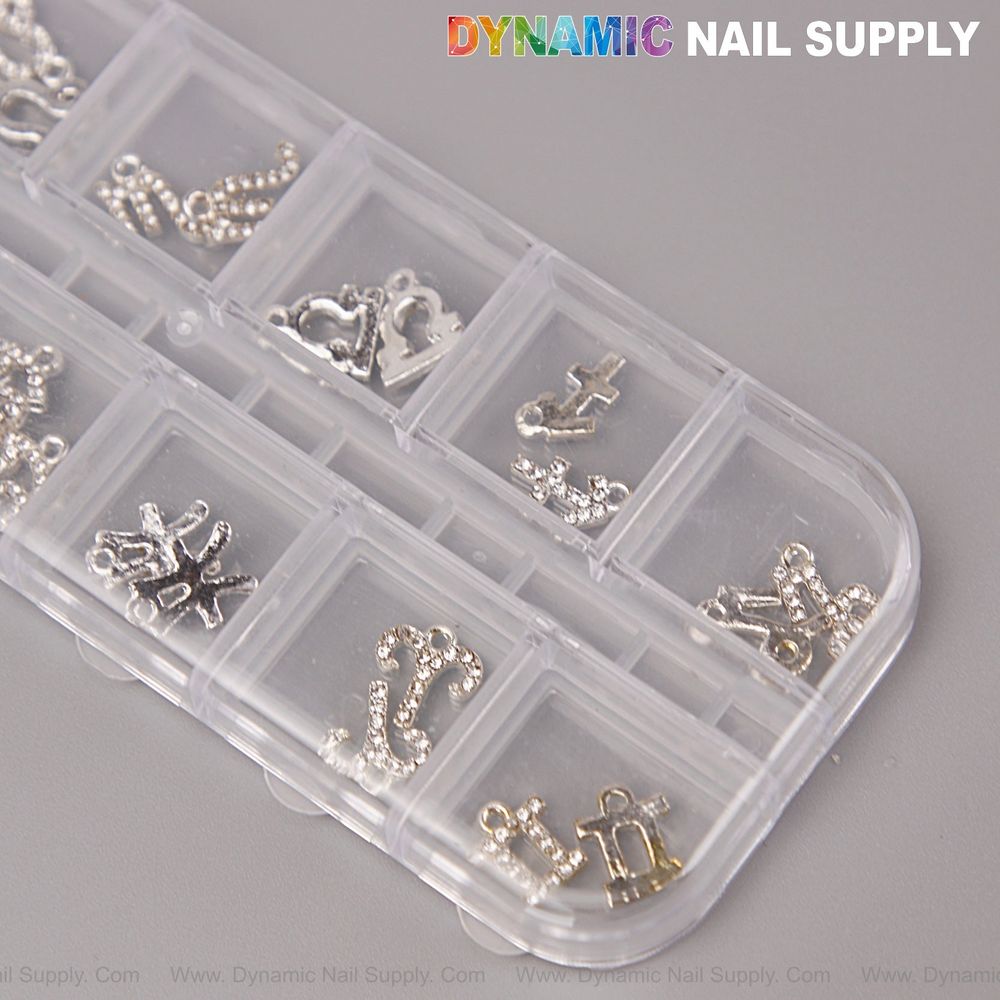
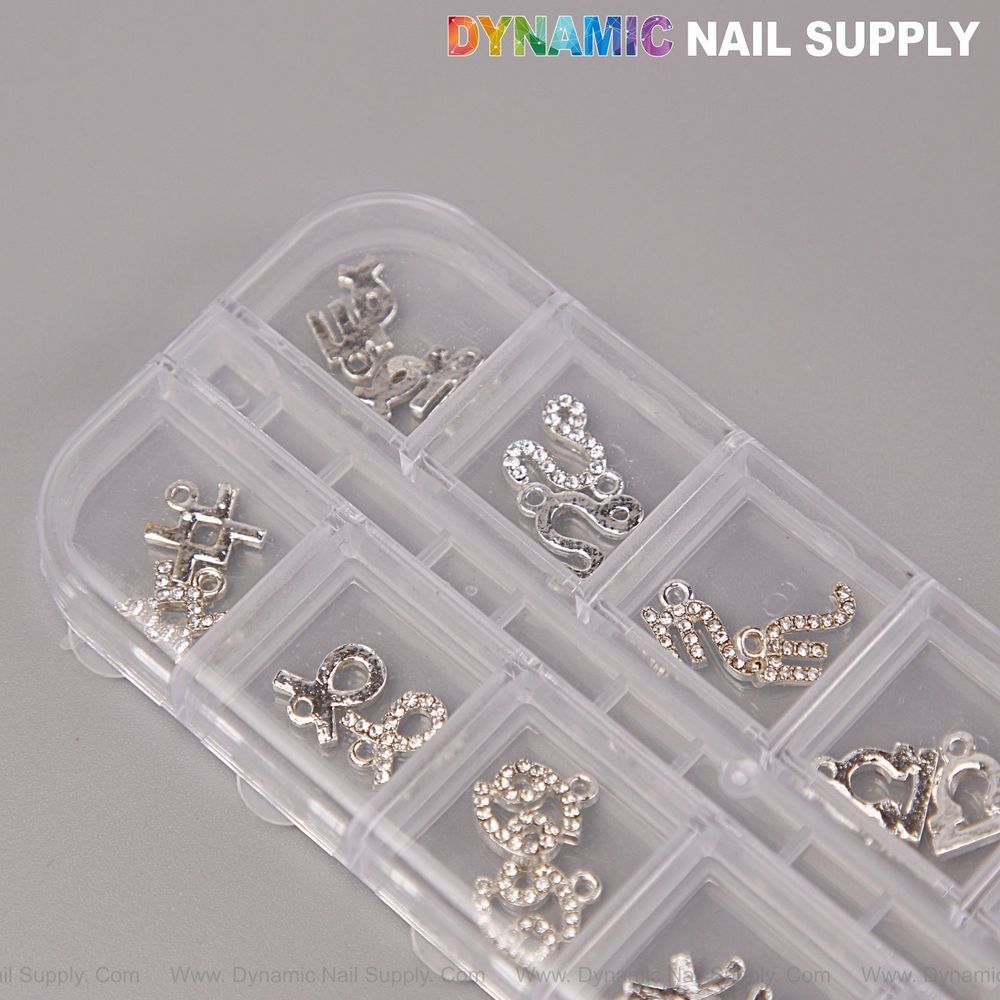
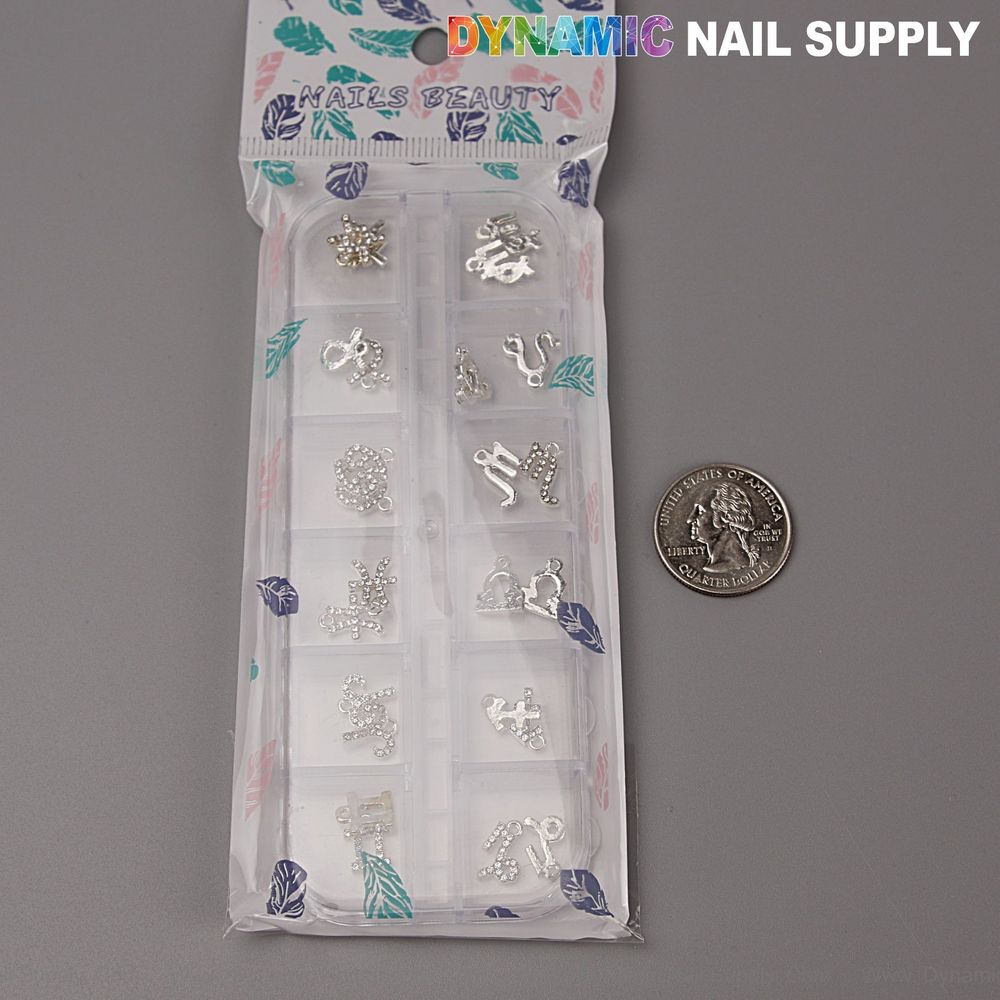
This is a set of 24 bright silver metal zodiac charms with clear rhinestones in a clear plastic compartment case, designed as nail art accents.
- Quick specs
- 24 pcs metal zodiac charms with clear rhinestones
- Twelve different constellation shapes in a clear plastic storage case
- Bright chrome-like silver finish with faceted clear rhinestones
- Price: $7.99 (available and subject to change)
How do we prep the gel or builder gel overlay to avoid lifting?
We always start by making the surface predictable: remove any oils or dust with a lint-free wipe and 99% isopropyl alcohol, then gently buff only the glossy inhibition layer if the overlay has already been cured. For brand-new builder gel overlays we follow our usual filing and shaping steps, ensuring the area where the charm will sit is smooth but slightly textured so adhesive can grab — a very light scuff with a 180–240 grit file or buffing block is enough. Avoid aggressive filing that weakens the overlay edge or thins the natural nail.
Which adhesive workflows prevent common bond failures?
We prefer a layered approach that matches the overlay type: for cured gel overlays a thin bead of soak-off gel adhesive or a small drop of thick builder gel works well when cured properly; for fresh, uncured builder gel we can embed the charm partially into the uncured gel then cure, which forms a true mechanical lock. When using a gel adhesive or builder gel, apply sparingly — excess product pools under the charm and causes gaps that catch debris. If you need extra grab, a micro dot of 2-part resin glue gives strong immediate hold, but remember it won’t soak off and requires permission if the client expects removal via soak.
How do we position tiny constellation charms without creating a mess?
Placement is where patience pays off. Because these charms are bright silver with clusters of small clear rhinestones, they reflect light and can slip in our tools. We use a fine-tip wax picker or a silicon-tipped tool to lift each charm from its clear compartment box and place it on a tiny puddle of adhesive or directly into uncured gel. For single-accent or minimalist looks we center the charm on the apex of the nail or at the cuticle area depending on the design; for more complex constellation layouts mark placement with a dot of thin gel or a pencil touch before we commit. Keep a small dish of clean alcohol and a fresh brush nearby to remove any adhesive strings before curing.
When we need a ready set for quick appointments, we bring silver zodiac charms because the clear compartment case keeps each of the twelve silver constellation shapes separated and visible during placement.
How do we cure and finish so the charm stays put but still looks seamless?
For gel adhesive or builder gel embedding, start with a tack cure (10–15 seconds) to lock the charm, then check alignment, and finish with a full cure per your product’s recommendation. If you used a hard gel cap or a builder gel overlay to encase the charm, apply gel around the charm’s base in a thin, tapered bead and feather it into the surrounding overlay for a low-profile edge before curing. Be aware that completely burying large rhinestones can dull their sparkle; instead, cap only the metal perimeter or the base, leaving rhinestone faces exposed, then finish with a shore-friendly top coat around the charmed area to minimize catching.
What do we do when a charm lifts or the finish looks uneven?
If a charm lifts during the service, remove it, clean both the charm base and the nail surface with alcohol, re-roughen the adhesive area lightly, and reapply using the layered adhesive approach described above. For uneven finish where the gel beads up near the metal, gently buff the cured area with a fine grit buffer, clean, and reapply a thin bead of builder gel to smooth transitions; cure and finish. If a rhinestone pops loose from its mount, replace the charm — attempting to re-glue individual micro-rhinestones is time-consuming and rarely long-lasting on mobile services.
How can we keep placement efficient and hygienic on the go?
Organize the clear plastic compartment box so each constellation lives in its own slot and label or visually map the twelve zodiac shapes before appointments. Use single-use lint-free pads and keep tweezers and wax picks in a small sterilized pouch. We recommend avoiding touch to the rhinestone surfaces with fingers to prevent oils from reducing adhesion. Dispose of any adhesive that has cured in your tools rather than trying to pick it off while on a mobile call.
Safety note: Handle small metal charms with care to avoid accidental ingestion or inhalation; keep out of reach of children and pets. Use adhesives in a well-ventilated area and follow manufacturer instructions for cure and removal.
Quick reference:
- Prep: clean, dehydrate, light scuff
- Adhesive: thin gel adhesive or embed in uncured builder gel
- Placement: wax pick, minimal adhesive, tack then full cure
- Finish: cap base, protect rhinestones, light buff if uneven
- On-lift: remove, clean, re-roughen, reapply