Valentine’s Chunky Glitter Nails: Salon Steps We Use
Step-by-step salon-friendly routine for full-coverage and mixed-accent holiday glitter nails using the Everything Sparkle acrylic powders.
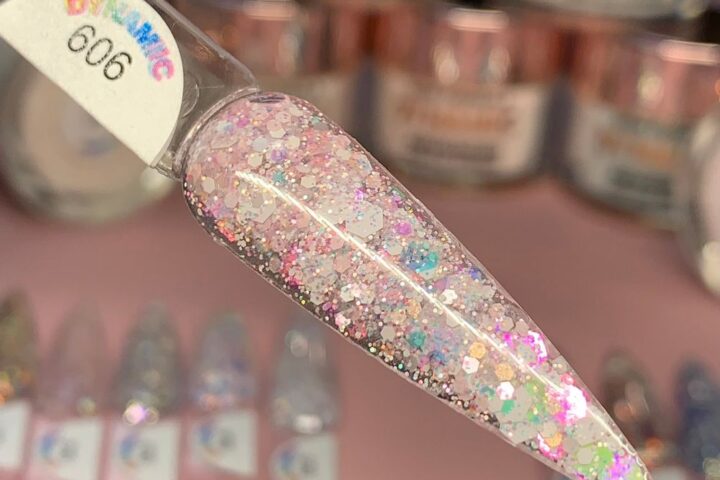
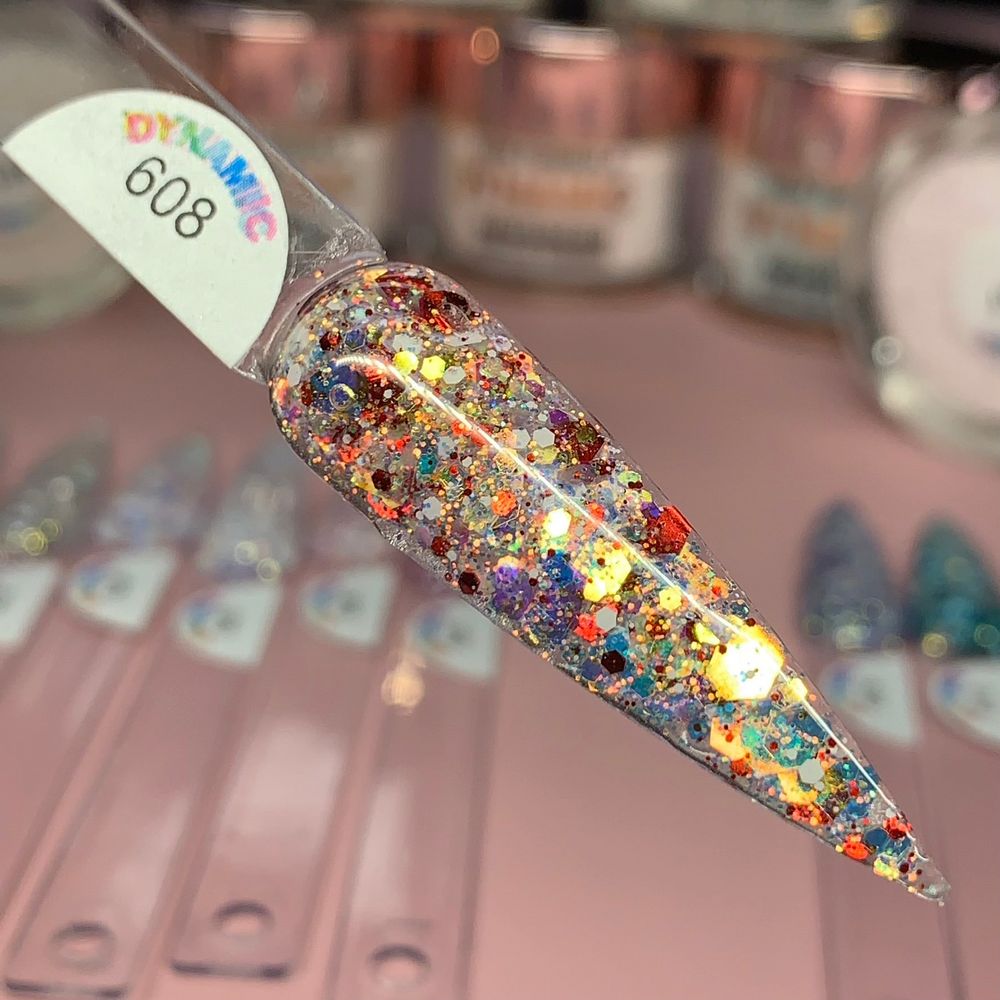
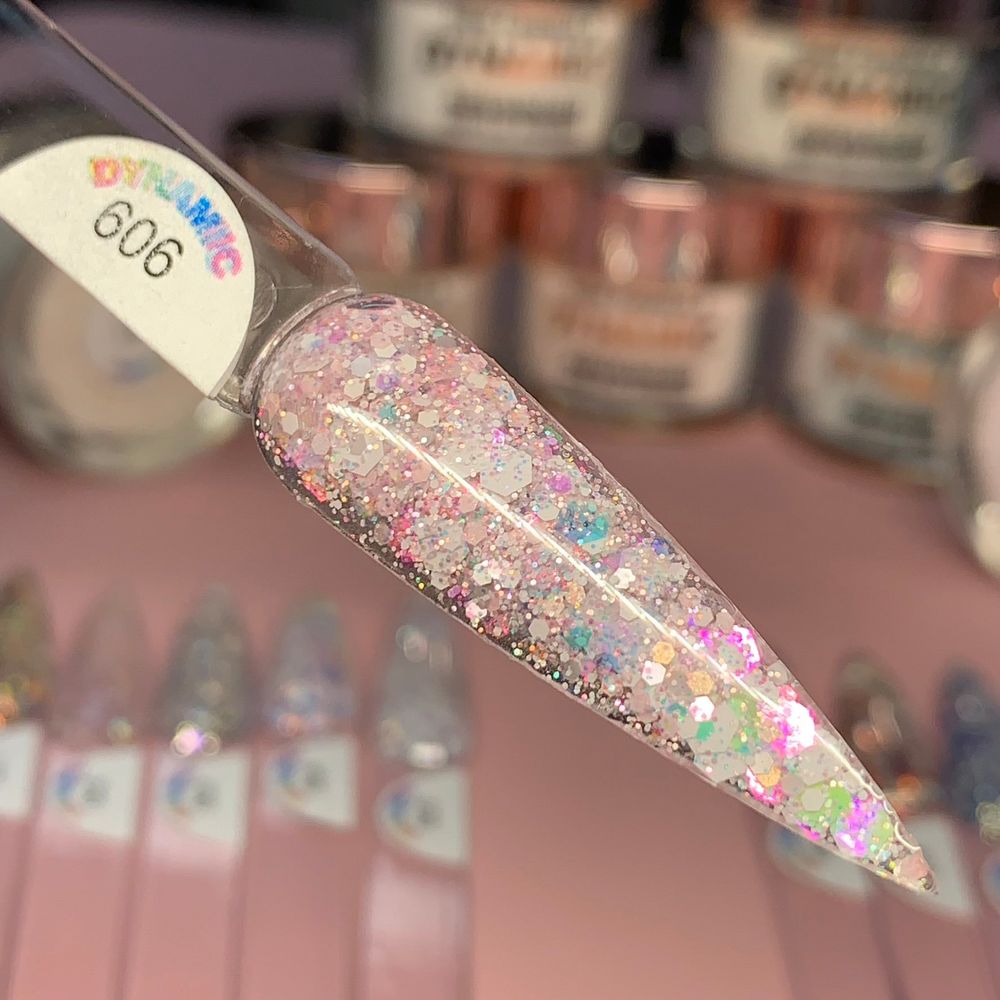
Everything Sparkle Acrylic Powder Collection (Valentine’s Colors) All Glitter Acrylics is a 12-piece glitter-forward acrylic powder set made for statement and mixed-accent nails; it mixes warm golds, pastel pinks and cool teals with large hex and irregular flakes for multidimensional shine.
How do we choose between full-coverage and mixed-accent looks?
We decide the service by how dense the client wants their glitter: for full-coverage statement nails we pick the denser, semi-opaque glitter jars so a single bead can build wide coverage; for mixed-accent sets we plan one or two fingers as focal nails (warm gold or a deep teal) and use the softer sheer pinks or sheer pale pink with pastel hexes as layering accents over a nude base. Planning stops problems before they start — knowing which jars give opaque suspension versus sheer suspension keeps us from overworking the nail and avoids bumpy topcoats.
How do we prep and prevent lifting with chunky glitter acrylic?
Prep is non-negotiable because chunky particles sit on and in the surface rather than laying flat like fine powders. We push back and gently buff the natural nail to remove shine, dehydrate with a light wipe, and use a thin, even primer appropriate for acrylics. When the nail is properly roughened and clean, the acrylic has multiple micro-anchors to grab onto instead of relying on surface tension alone. If a client is prone to oils, we reduce bead size for the first application and seal the cuticle gap carefully to avoid edge lifting later.
How do we handle mixing and bead placement with large hex and irregular flakes?
Chunky glitter requires a slightly heavier bead and a different mindset — we dip so the brush picks up a bead with visible suspended chunks rather than trying to grind the powder into a paste. Hold the bead at the smile line and place it with a confident, single movement rather than many tiny adjustments that smear chunky pieces and trap air. For full-coverage nails we work in two strokes: anchor at the cuticle with a smaller bead, then place a larger body bead to spread toward the free edge, pressing gently so hexes align without bunching. For mixed accents where we want clusters, we spot-place smaller beads to build dense islands of sparkle and leave adjacent nails smoother for contrast.
How do we manage texture issues and achieve a smooth finish?
Because several shades use large and medium glitter suspended in a clear or semi-opaque base, you will feel surface texture if you stop at one thin layer. We always add a sculpting layer after the first pass: let the acrylic set to a tacky, workable stage, then add a thin clear acrylic coat to encapsulate chunks. After curing, we file with a medium grit to level high hexes and follow with a fine buffer before applying a glossy top coat. If the client wants a glass-smooth look, two layers of clear builder plus a gel-style top coat give the best result without flattening sparkle too much.
For product reference mid-service we keep the jar label handy and the exact item on our booking sheet: https://dynamicnailsupply.com/products/everything-sparkle-acrylic-powder-collection-newest-2023-all-glitter-acrylics
How do we keep glitter placement consistent across a set?
We map the design before we touch monomer: pick the fingers that will be full glitter (often index and ring for high-contrast display), choose accent fingers (sheer pink over nude or a teal glitter shimmer), and decide where to transition for ombré or layered effects. When applying ombré from sheer pink to aqua, we use a fan brush stroke to drag excess glitter inward while the acrylic is tacky so hexes sit in a gradient rather than a hard line. For repeatable salon results, we measure bead sizes by brush load and note them in our service sheet — that keeps every set consistent.
How do we finish the set so it lasts and photographs well?
Final sealing is key: after leveling and fine buffing we apply a thin but full-coverage clear layer to encapsulate the glitter edges, then cure and finish with a high-gloss top coat. The high holographic and iridescent reflectivity in this collection pops under light, so a glossy finish preserves multi-dimensional shine. For clients who type or work with rough surfaces, we add an extra top coat around the free edge and re-seal after the first week if they return for a quick maintenance appointment.
Special attention: what makes 601 / 1 oz a useful option?
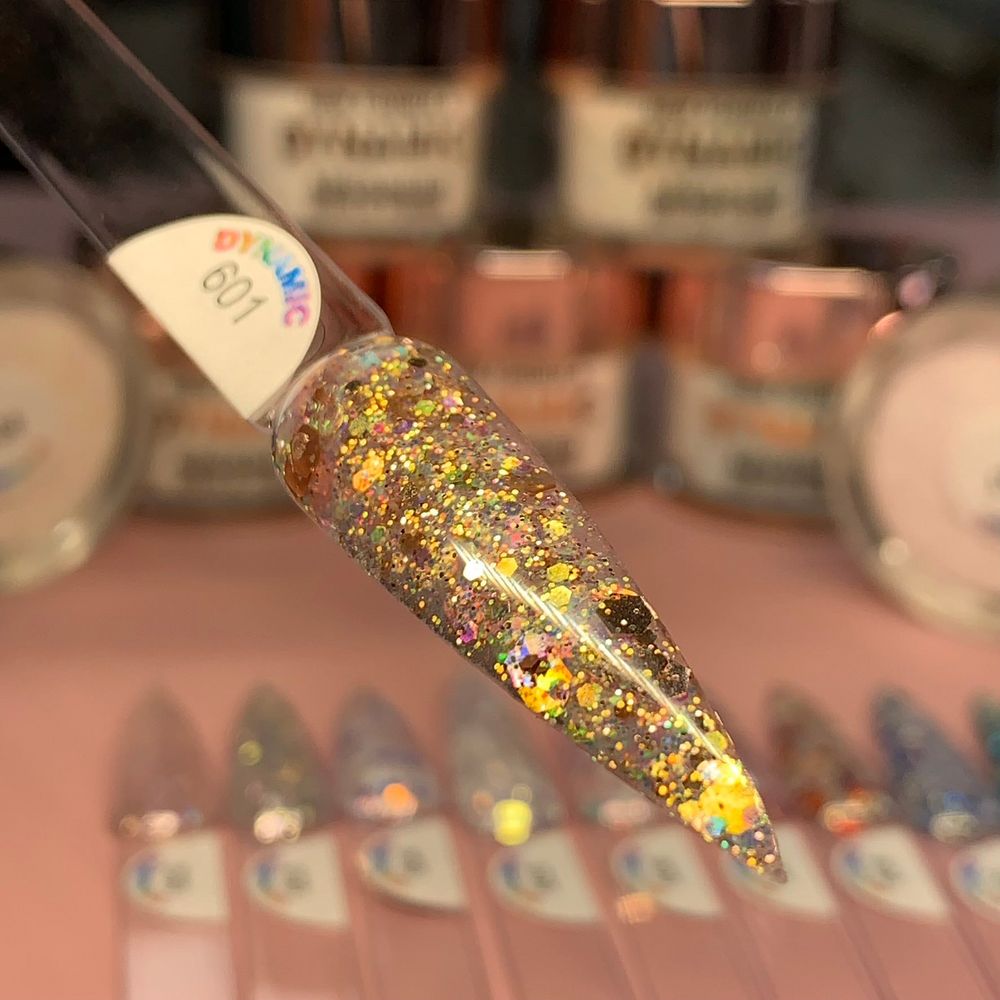
601 / 1 oz appears as a warm gold holographic chunky mix in the swatch set and functions as our go-to focal shade when we want an immediate high-impact metallic statement without layering. Its larger hex pieces sit on a semi-clear base so one or two beads deliver strong coverage on stiletto or coffin shapes, and the 1 oz size is a practical service jar for mobile techs who need a compact option for multiple appointments. Keep one jar of 601 in your kit for quick accent swaps and dense full-coverage ring fingers that pair well with the set’s pastel pinks and teals.
How should we store and handle jars to keep chunks from clumping?
Store jars upright in a dry, shaded kit pocket and avoid moist environments where humidity encourages clumping. If chunks clump in a jar, we gently tap the lid and swirl — never shake vigorously, which can create dust and uneven particle sizes. Use a clean, dry brush and avoid transferring monomer back into the jar to prevent contamination and preserve the non-toxic, low-odor formula in these powders.
Quick specs:
- Product: Everything Sparkle Powder (Valentine’s Colors) All Glitter Acrylics
- Options: 601–612 and Whole set of 12; weights 1 oz or 2 oz
- Finish: chunky mixed-glitter, holographic/iridescent
- Made in the USA; non-toxic and odor-free (product notes)
- Price range shown: $6–$96 (prices may change)
We hope this step-by-step approach helps you plan and execute valentine’s chunky glitter nails that last, photograph beautifully and keep clients booking return appointments.
Quick reference
- Prep: remove shine, dehydrate, primer
- Beads: confident placement, anchor + body bead for full coverage
- Encapsulation: thin clear coat, file medium then fine
- Finish: high-gloss top coat and free-edge reseal
- Kit tip: keep 601 / 1 oz handy for warm gold statement nails